Launching Version 1 of Start Spark
So after 4 weeks of planning and coding and debugging, the day came when I had to launch version 1.0 of the product!
The extension I built is now deployed in the DiRAC Jupyter Hub and is currently getting used by the astronomy community at DiRAC!
What you can do with my extension:
- Create a PySpark cluster on the click of a single button. Creating a PySpark cluster would have otherwise taken writing multiple lines of cumbersome codes.
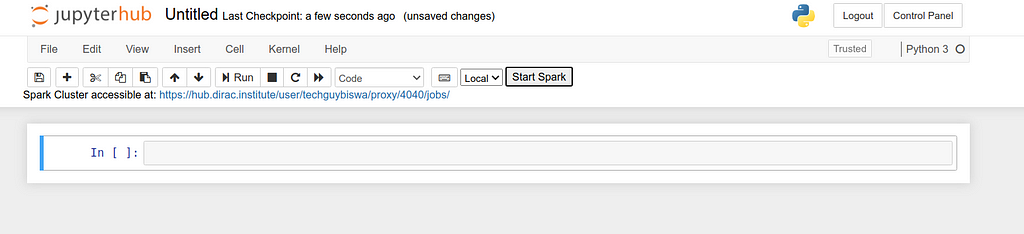
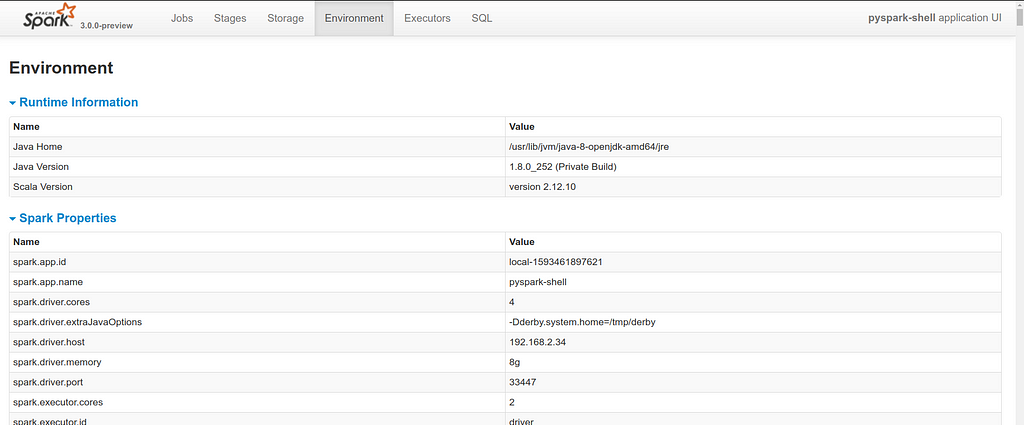
- Get the link where you can access the PySpark web UI and see all the executors, jobs, and the environment.
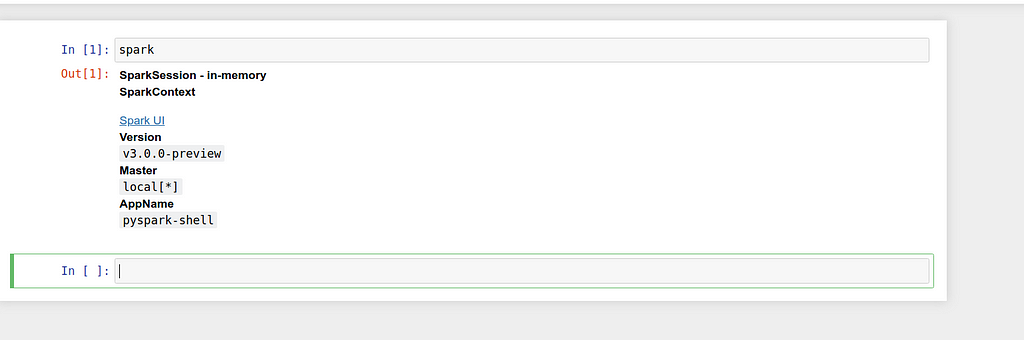
- The “spark” variable is automatically injected into the kernel and hence users can use it as they like.
How does it work?
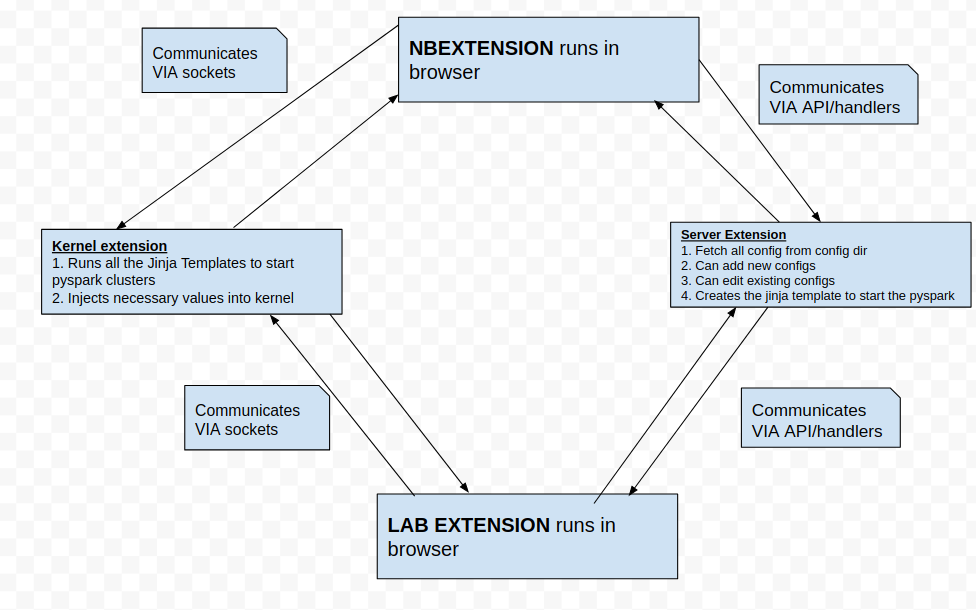
Step 1: The extension gets loaded.
Step 2: While it loads it automatically calls an API/serverextension handler /all-config and that API gives all the list of the available configs.
Step 3: We can see that list of all available configs in the dropdown.
Step 4: We can select any config that we want and click on “Start Spark” Button
Step 5 : When we click Start Spark Button, the front end detects which config we have selected and then tells the serverextension about the selected config via REST API.
Step 6: The serverextension fetches all the config details of the config that is selected in the frontend from the config dir located at home dir.
Step 7: Then once it has the required config fetched from the config dir it converts it into a Jinja Template and sends the jinja template to the front end via API
Step 8: Once the front end receives the Jinja template of the required config it sends the Jinja Template to the Kernel Extension via Sockets
Step 9: The kernel extension executes the jinja template to start the spark cluster that it receives from the Jupyter front end.
Select Config -> Click the Start Spark Button -> Config Data fetched in backend -> Config data converted to Jinja Template in Backend -> Jinja Template Sent from backend to front end -> Jinja sent from front end to Kernel → Jinja template gets executed in Kernel to start the cluster!
Video Reference Link: https://www.loom.com/share/dc18b670e08a47c6a96db3176f3be9ef (PS: Watch it in 1.5x speed)
I am super excited to see how the astronomy community feels about it and gives their feedback.